The best camera bag for hiking is the one that fits your body first, then your camera kit. If you mainly do day hikes, shortlist a comfortable photo backpack like the Shimoda Explore V2 30 or Atlas Athlete; if weight matters more, look at the PGYTECH OnePro Ultralight; if you carry heavy gear in bad weather, the Lowepro Whistler BP 450 AW II makes more sense.
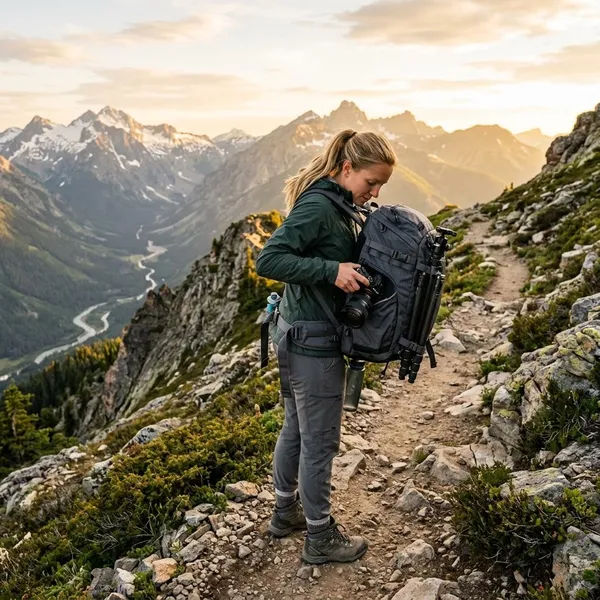
Best camera bags for hiking to shortlist
Start with your normal hiking day, not the most extreme trip you might take once a year. A small mirrorless kit for summer trails needs a very different pack from a full-frame body, telephoto lens, tripod, water, food, and extra layers.
| Bag | Best fit | Watch out for |
|---|---|---|
| Shimoda Explore V2 30 | Travel, city-to-trail use, and day hikes with a medium camera kit | Choose the right core size so personal items do not get squeezed out |
| PGYTECH OnePro Ultralight | Lighter mirrorless setups and hikers who count every pound | Not ideal if you often carry bulky lenses or winter clothing |
| Atlas Athlete | Photographers who change kit layouts often | Take time to test the divider setup before a long hike |
| Lowepro Whistler BP 450 AW II | Heavy gear, snow, wet conditions, and rougher outdoor use | Can feel excessive for casual warm-weather walks |
Camera backpack vs hiking backpack with an insert
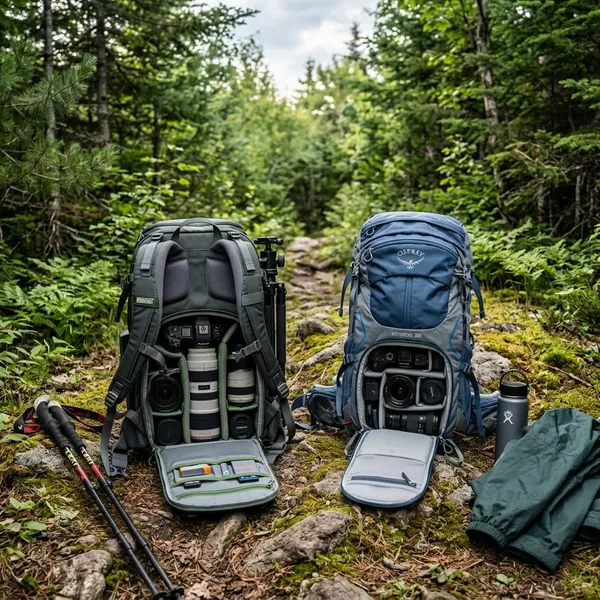
The choice is not always between four camera bags. Sometimes the better setup is a regular hiking backpack with a padded camera insert, especially if walking comfort matters more than fast lens access.
A dedicated camera backpack is better when photography drives the day: you stop often, change lenses, or want side and rear access. A hiking backpack with an insert is often better when hiking is the main activity and the camera is one part of the load.
Comfort under load
For longer hikes, comfort should outrank pocket layout. A proper hiking pack usually has a better hip belt, more effective load transfer, and better ventilation than many camera-first bags.
Camera protection and access
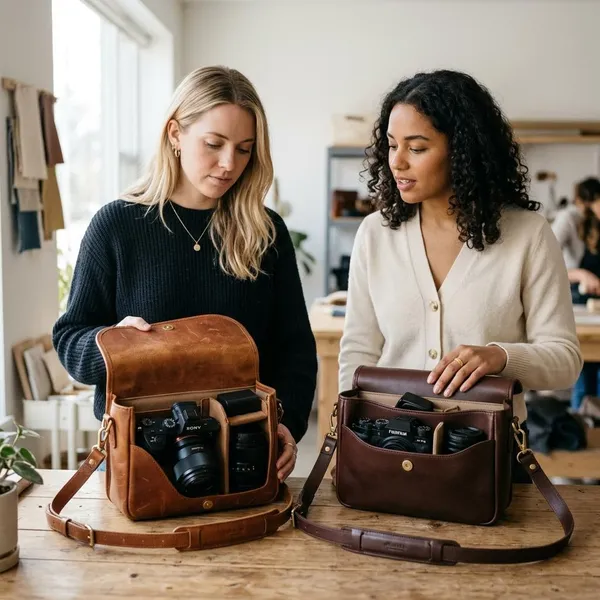
A camera backpack wins when you need fast access and built-in organization. Padded dividers, rear panels, and side openings are useful when light changes quickly or you swap lenses often.
- Choose camera-first access if you shoot wildlife, weather breaks, or fast-changing light.
- Choose an insert if you usually stop, take the pack off, and shoot slowly.
- Add a chest clip or capture clip if you want the camera ready without keeping it around your neck all day.
Space for hiking essentials
This is where many camera bags disappoint. They protect lenses well, then leave awkward space for water, lunch, gloves, a rain shell, or a first aid kit.
If you hike in warm weather, water may be your biggest non-camera item. If you hike year-round, spare layers can take more room than an extra lens. A bag that is already full before those basics go in is too small for real trail use.
Total weight and cost
A hiking backpack with an insert can be cheaper and lighter if you already own a comfortable pack. It is also easier to upgrade one part of the system later: swap the insert, not the whole backpack.
A dedicated photo pack is worth the extra cost when access and organization save you frustration every time you shoot. Just compare the full trail weight, not only the empty bag weight. Camera body, lenses, batteries, water, tripod, and clothing are what your back actually carries.
How to choose a camera bag for your hikes
Choose in this order: fit, total load, camera access, weather protection, then extra features. Brand names matter less than whether the pack still feels sensible after it holds everything you take on a normal hike.
Match the harness to your torso
A good harness should let the hip belt carry part of the load instead of leaving everything on your shoulders. If the torso length is wrong, even an expensive camera bag can feel tiring.
Shorter hikers and taller hikers should be especially careful with "one size" packs. Adjustable harness systems are not just a premium feature; they can be the difference between a bag you use often and one that stays in the closet.
Check your camera and lens fit
Measure your real kit before trusting product photos. Check whether your camera fits with the lens attached, whether lens hoods need to be reversed, and whether your longest lens fits without forcing the dividers.
Do not buy the largest bag automatically. If your regular setup is one camera and one extra lens, a half-empty pack can bounce, shift, and tempt you to carry gear you do not need.
Allow room for water, food, and layers
A hiking camera bag should still behave like a hiking bag. Before buying, make a small pile of what you normally take besides camera gear: water, snacks, shell jacket, warm layer, sunscreen, headlamp, first aid, gloves, or map.
- Short local walk: camera, small water bottle, snack, light layer.
- All-day summer hike: more water, food, sun protection, and room for a packed-away layer.
- Cold or mountain route: gloves, insulation, rain protection, and more margin inside the bag.
If that pile does not fit cleanly after your camera gear is packed, the bag is not practical for your hikes.
Check tripod and bottle attachments
Tripod carry should feel balanced, not like an afterthought strapped to one side. If possible, test the bag with the tripod attached and the bottle pockets filled; that is when awkward layouts show up.
Also check whether side pockets are usable while wearing the pack. A bottle pocket that looks fine online but sits under compression straps can become annoying very quickly.
Compare empty and loaded weight
Empty weight matters, but loaded weight tells the truth. Put your camera body, lenses, batteries, tripod, water, food, and clothing on a scale or at least pack them together before comparing bags.
- Weigh the whole carry system. Bag plus gear is the number that matters.
- Choose for your common hike. Do not let one rare heavy trip define every weekend.
- Notice how it carries. Two bags with the same weight can feel very different on climbs.
Check rain protection and access points
Most hiking camera bags are weather-resistant, not truly waterproof. Look for covered zippers, durable outer fabric, and an included rain cover, but do not rely on the shell alone in sustained rain.
For wet climates, use a simple backup system: rain cover outside, small dry bags or pouches inside for batteries, cards, and electronics. Rear access is helpful on muddy ground because the harness stays cleaner; side access is better when you want the camera quickly without fully unpacking.
Conclusion
If you want one practical pick, choose the bag that fits your usual hike rather than the biggest kit you can imagine. The Shimoda Explore V2 30 is the best all-round shortlist option, PGYTECH suits lighter packing, Atlas is the flexible choice, and Lowepro is the tougher bad-weather pick; if hiking comfort matters more than camera access, a good hiking backpack with an insert may still be the smarter buy.