The best camera bags are not all trying to solve the same problem. If you shoot with one small mirrorless setup, a sling may be the smartest choice; if you travel with bodies, lenses, laptop gear, and a tripod, a structured backpack or roller makes far more sense. Start with your normal kit and the way you move, then choose the smallest bag that carries it comfortably.
Best camera bags by use
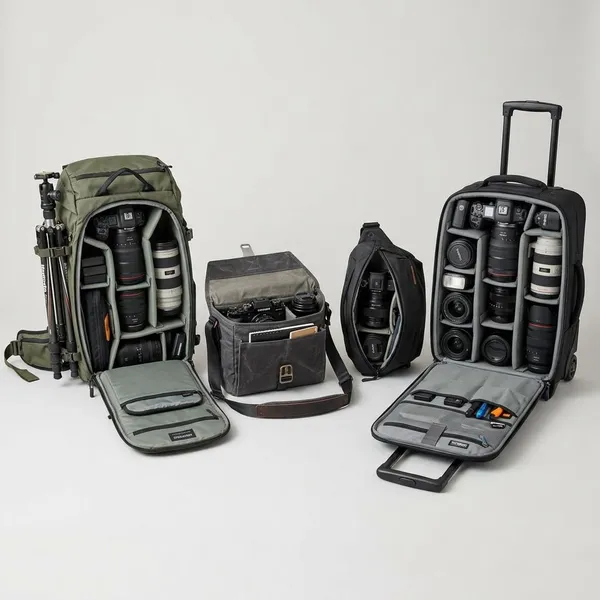
A camera bag should match the kind of day you actually have most often. Daily carry needs quick access and space for personal items. Street photography usually rewards a lighter, less obvious bag. Travel, hiking, larger kits, and airline work all push you toward more specialized designs.
| Best fit | Bag to consider | Why it makes sense |
|---|---|---|
| Daily mixed carry | Peak Design Everyday Backpack 20L | Good access, clean styling, room for camera gear and essentials |
| Street photography | Bellroy Venture Camera Sling 10L | Low-profile, quick to swing around, better for smaller kits |
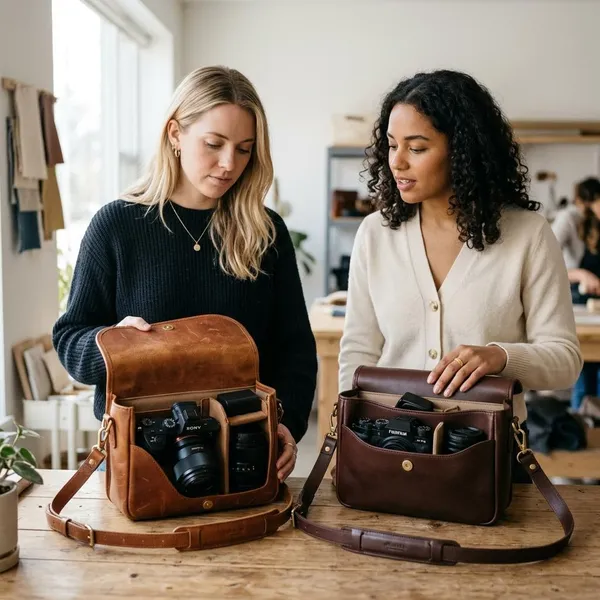
| Classic shoulder carry | Billingham Hadley Pro 2020 | Fast top access with a more understated look |
| Travel organization | Nomatic McKinnon Camera Pack 35L | Structured space for larger hybrid photo and tech setups |
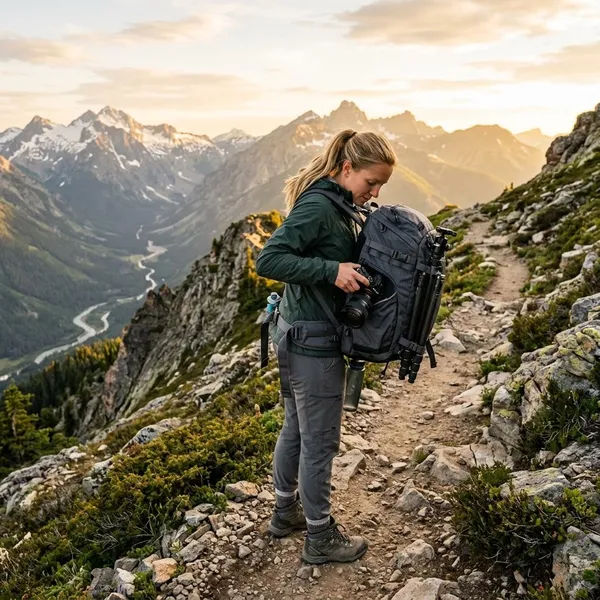
| Hiking and outdoors | Think Tank BackLight 18L | Rear access and a more trail-friendly carry style |
| Larger kits | Tenba Axis V2 24L | More room for pro bodies, longer lenses, and accessories |
| Airports and events | Think Tank Airport Advantage | Rolling transport reduces strain with heavy gear |
| Budget buyers | Lowepro Tahoe BP 150 | A simple starter backpack without premium pricing |
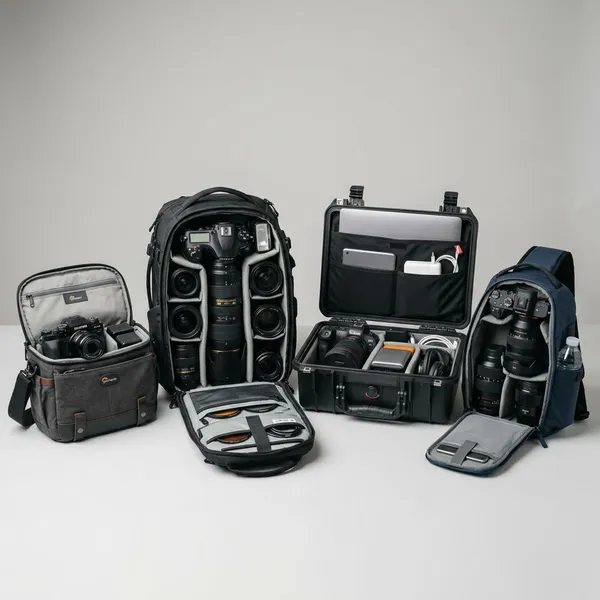
How to choose a camera bag that fits your kit
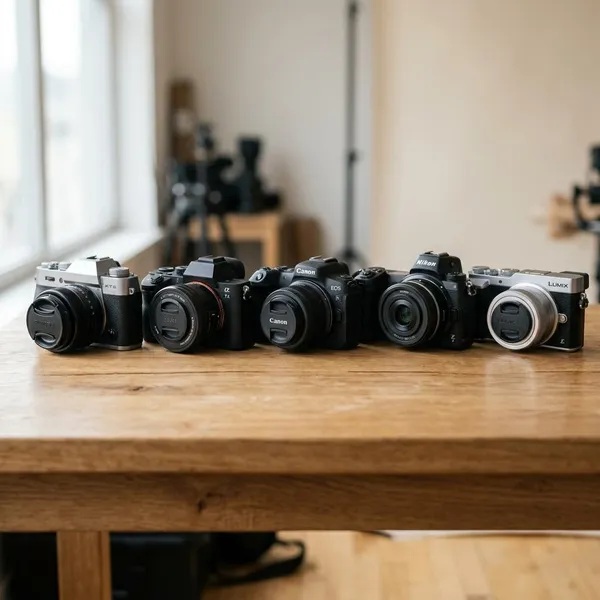
The fastest way to avoid buying the wrong camera bag is to lay out your real kit before comparing models. Put down the camera body, attached lens, spare lens, batteries, charger, laptop, daily items, and anything you carry almost every time. If the bag only fits the camera gear and nothing else, it may look perfect online but feel annoying in real life.
Check internal dimensions against your gear
Start with internal dimensions, not the liter rating. Two 20L bags can fit very differently depending on divider depth, opening shape, and how much space is taken by padding. The key question is simple: can your camera fit with the lens attached if that is how you like to shoot?
Measure your longest lens, the depth of your camera body, and the height of any grip or viewfinder area that sticks out. If a product page does not make the internal layout clear, look for real packed photos or user measurements before buying.
Allow space for daily essentials
A bag that fits only camera gear is often too tight for real use. Leave room for small but necessary items: keys, wallet, phone, sunglasses, a power bank, a snack, or a light layer. For travel, that extra space matters even more because you may not want a second personal bag.
- Everyday carry: leave space for non-camera items you reach for often.
- Travel days: keep documents, chargers, and headphones easy to access.
- Long shoots: make room for water or a layer before adding another lens.
Test comfort with a realistic load
An empty bag tells you very little. A sling that feels great with one camera may become irritating with two lenses and a water bottle. A backpack that looks bulky may actually carry better once the weight is spread across both shoulders.
If you are choosing between a sling and a backpack, use weight as the deciding point. Light, short sessions favor a sling; heavier kits, longer walks, and travel days usually favor a backpack. If a loaded bag pulls, swings, or digs into your shoulder within a few minutes, it will not improve after three hours outside.
Choose access points that suit your shooting
Access style should match how you shoot, not just what looks clever in a product video. Side access is useful when you want to grab a camera quickly in a city. Rear access is better when you want the harness side kept clean outdoors. A full clamshell opening helps when you pack carefully for travel or jobs and need to see everything at once.
Check padding and weather protection
Good padding should stop gear from knocking together without making the bag unnecessarily bulky. Divider quality matters as much as foam thickness because loose dividers let equipment shift around. For expensive lenses or heavy bodies, a snug layout is safer than a bag with lots of empty space.
Weather protection needs realistic expectations. Most camera bags are water resistant rather than fully waterproof, so light rain may be fine while sustained rain calls for a rain cover or extra protection. If you often shoot outdoors, check for covered zippers, tough fabric, and whether a rain cover is included or sold separately.
Confirm laptop and tripod fit
Laptop and tripod support should be treated as yes-or-no requirements. If you edit while traveling, check the stated laptop size and whether the sleeve is padded at the bottom. If you carry a tripod often, make sure the attachment point keeps the bag balanced rather than pulling one side down.
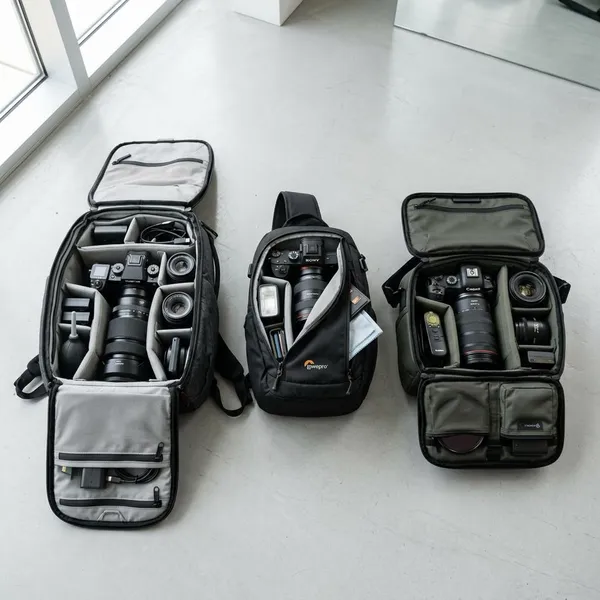
- Lay out your normal kit. Do not shop around your biggest possible setup unless you carry it often.
- Measure the awkward pieces. Lens length and camera depth cause more fit problems than total capacity.
- Choose the carry style. Sling for light and fast, backpack for longer days, roller for heavy airport transport.
- Check access before extras. A bag you hate opening will stay at home.
- Leave a small margin. Room for one future lens is useful; lots of empty space just adds bulk.
Conclusion
Pick the bag that fits your most common shooting day, not the fantasy day when you carry every lens you own. For a light city kit, the Bellroy sling is easier to live with; for daily mixed use, the Peak Design backpack is the safer all-rounder; for travel, hiking, large kits, or airports, the more specialized options earn their extra size. The right choice should make you more likely to bring your camera, not give you another reason to leave it behind.