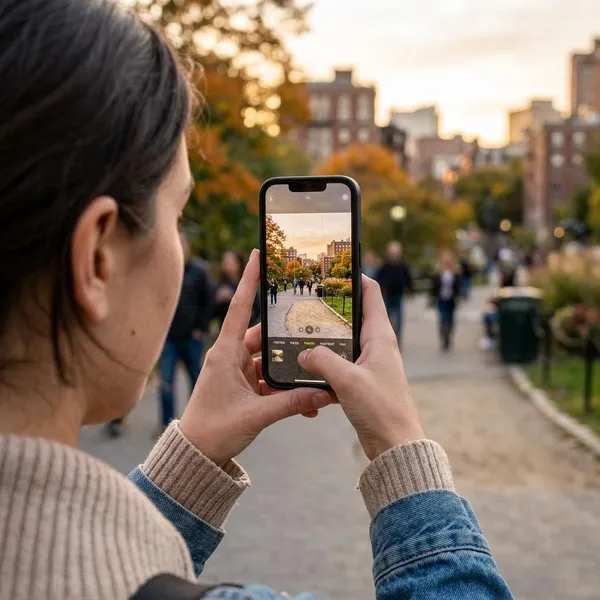
If your iPhone photos look too dark, soft, crooked, or larger than they need to be, start with two places: the Camera app for quick changes and Settings > Camera for defaults. The quickest wins are usually tapping to focus, adjusting exposure, turning on Grid and Level, and choosing sensible quality settings instead of maxing out every option.
How to Adjust the iPhone Camera Quickly
When you need a better shot right now, do not start by hunting through every camera setting. Fix the scene first: choose the subject, correct the brightness, and lock settings only when the camera keeps changing its mind. Then use Settings later for the options you want to keep.
Open Settings > Camera for default options
Open Settings > Camera when you want changes that affect future photos and videos. This is where you handle formats, video quality, Grid, Level, Lens Correction, Preserve Settings, and supported pro features.
- Check Formats first if storage or file compatibility matters.
- Check Record Video before filming anything important.
- Turn on Grid and Level if your photos often look tilted.
- Review Preserve Settings if the Camera app keeps opening in a setup you dislike.
Open Camera Controls for live adjustments
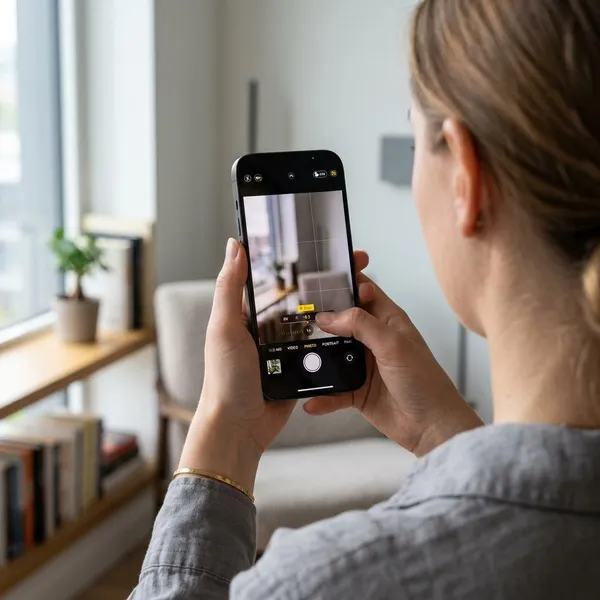
In the Camera app, tap the arrow at the top of the viewfinder or swipe up to reveal controls such as flash, timer, aspect ratio, exposure, filters, or Photographic Styles, depending on your iPhone and iOS version. Newer models may also offer faster access through Camera Control, but the practical idea is the same: use live controls for the current scene, not for long-term defaults.
Tap the screen to set focus
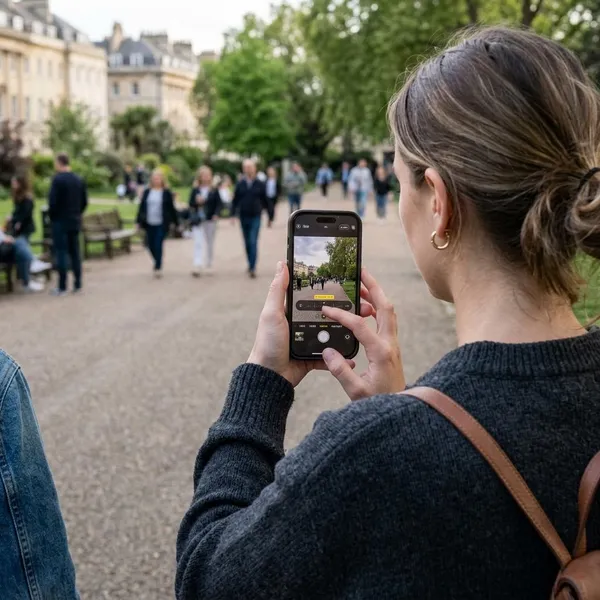
Tap the part of the image that should look sharp. A yellow focus box appears, and the iPhone gives that area priority. This is especially useful for faces, pets, food, product photos, text, and close-ups where the phone might otherwise focus on the background.
Adjust Exposure to change brightness
After tapping to focus, drag the small sun icon up or down to change brightness. Move it up for a brighter subject, or down to protect bright details such as clouds, windows, or stage lights.
Hold the subject to enable AE/AF Lock
Press and hold on your subject until AE/AF Lock appears. This locks both exposure and focus, which helps when the iPhone keeps refocusing or changing brightness as you reframe.
Use Preserve Settings to save changes
Preserve Settings is useful only for habits you repeat. Go to Settings > Camera > Preserve Settings and save options such as last camera mode, exposure adjustment, Night mode, Macro Control, or Live Photo only if they genuinely save time.
Best iPhone Camera Settings for Everyday Use
For daily photos, the best setup is not the biggest file or the most advanced format. Most people need a reliable balance: sharp enough for cropping and sharing, small enough not to fill storage too quickly, and simple enough that the Camera app still feels quick.
Turn on Grid and Level
Turn on Grid and Level in Settings > Camera. Grid helps you place people, horizons, and objects more deliberately, while Level helps avoid crooked landscapes, room photos, flat-lays, and document shots.
Use 24 MP for everyday photos
On supported iPhones, 24 MP is a strong everyday choice because it gives more detail than lower-resolution defaults without the heavier storage cost of maximum-resolution shooting. It is enough for normal sharing, moderate cropping, and occasional prints.
Use High Efficiency to save space
High Efficiency is usually the better default if you keep many photos and videos on your phone. It saves media in modern formats such as HEIF and HEVC, which can reduce storage use while keeping good everyday quality.
| Choose this | When it makes sense |
|---|---|
| High Efficiency | You mostly use modern Apple devices, iCloud, current apps, and want smaller files. |
| Most Compatible | You often send files to older computers, older apps, work systems, or people who need JPEG/H.264. |
Use 4K at 30 fps for everyday video
4K at 30 fps is a sensible default for everyday video. It looks sharp, works well for family clips and travel videos, and gives you more editing flexibility than 1080p without the heavier file size of 4K60.
Turn on Lens Correction
Enable Lens Correction if your iPhone offers it. It helps reduce distortion from the front and ultra-wide cameras, especially near the edges of the frame.
Preserve only the settings you reuse
Preserve the settings that match your normal routine, not every option available. Good candidates are Live Photo preference, last-used camera mode, or a familiar exposure adjustment if you regularly shoot in the same lighting.
- Good use: you always keep Live Photo off and want it to stay off.
- Risky use: you preserve a one-time Night mode, zoom, or exposure change and forget it later.
- Simple rule: if a preserved setting causes surprises, stop preserving it.
How to Adjust Focus and Exposure
Focus and exposure are the two adjustments that fix the most common bad iPhone photos. If the subject is soft, tap to focus. If the subject is too bright or too dark, adjust exposure. Do these before changing advanced settings.
Tap the main subject to focus
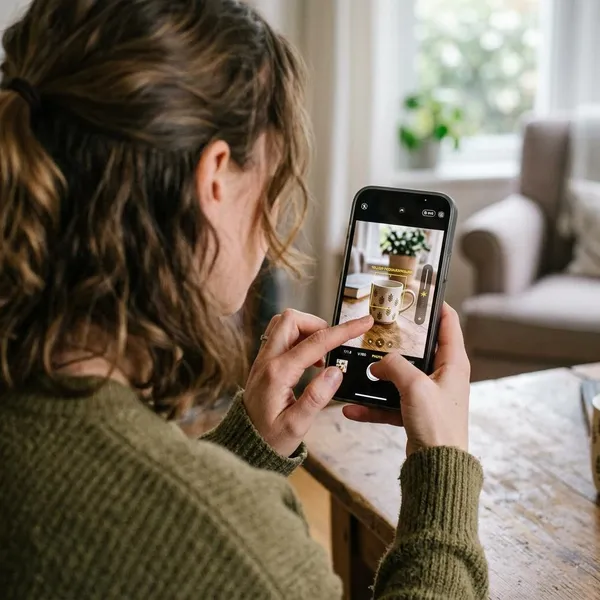
Tap the most important subject before taking the photo. For a portrait, tap the face or eyes. For food, tap the front detail you want sharp. For a label, screen, flower, or small object, tap the exact area that needs to be readable or crisp.
Drag the exposure control to change brightness
Use the exposure slider when the preview looks wrong even though focus is correct. Judge brightness by the subject first, not by the whole frame. A face should look natural; a bright sky should still hold some detail; a dark room should keep the mood without turning muddy.
Hold the focus area to lock both settings
Hold your finger on the focus area until AE/AF Lock appears. This is useful when you want several photos with the same brightness and sharpness, or when the camera keeps reacting to movement in the background.
Tap elsewhere to remove AE/AF Lock
Tap another part of the screen to remove AE/AF Lock. Do this whenever you move to a different distance or lighting situation, such as going from an indoor close-up to an outdoor view.
Preserve Exposure Adjustment when needed
Preserving Exposure Adjustment can help if you repeatedly shoot in the same lighting, such as a desk setup, kitchen counter, or product corner near a window. It is less useful if your lighting changes throughout the day.
How to Change Photo and Video Quality
Quality settings are really trade-off settings. Higher resolution and pro formats can help with editing and cropping, but they also use more storage and add decisions while you shoot. Choose based on what you will do with the files afterward.
Choose High Efficiency or Most Compatible
Choose High Efficiency if you want smaller files and use mostly modern devices and apps. Choose Most Compatible if you regularly share media with older computers, older software, or systems that expect JPEG and H.264.
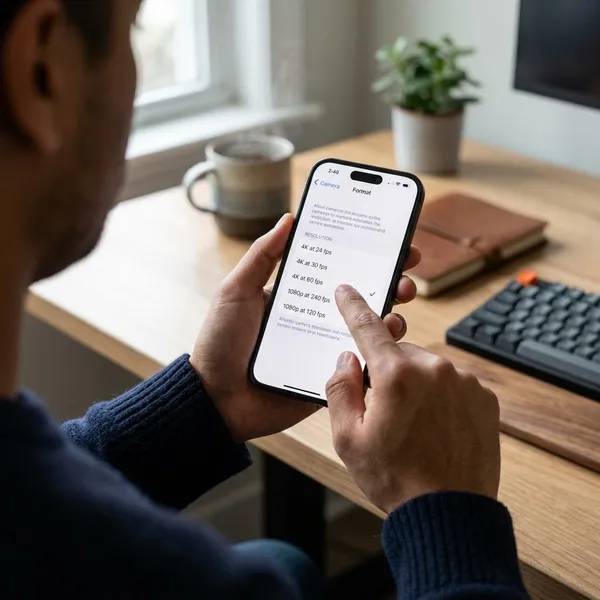
You can change this in Settings > Camera > Formats. If you are unsure, start with High Efficiency and switch only if sharing or editing becomes inconvenient.
Set the default photo resolution
Set your default photo resolution to match your normal use. A balanced option such as 24 MP, when available, is often enough for daily photos, small prints, and light cropping. Higher resolution is better saved for images you may crop heavily, edit carefully, or print larger.
Enable ProRAW on supported Pro models
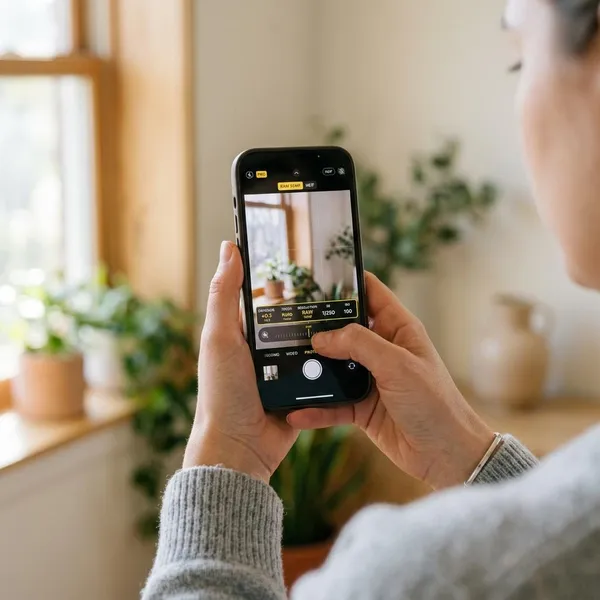
ProRAW is for photos you plan to edit, not for making every snapshot automatically better. It keeps more image data for adjusting highlights, shadows, color, and white balance later, but the files are much larger.
- Use it for: difficult lighting, important travel photos, landscapes, or creative edits.
- Skip it for: quick family snapshots, receipts, casual food photos, and images you will not edit.
- Test first: take a few ProRAW shots and check storage impact before using it often.
Choose a video resolution and frame rate
Pick video quality by motion and storage. 4K30 is the best starting point for most everyday clips. 1080p is fine when storage matters more than detail. 4K60 is better for smoother action, but it creates larger files and is best used in decent light.
Enable ProRes only when needed
ProRes should stay off unless you have a clear editing reason to use it. It is designed for high-end video workflows and can create very large files quickly.
For school events, vacations, pets, social clips, and normal home videos, regular 4K settings are usually far more practical. If you are curious, record a short ProRes test and compare the file size before trusting it for a longer shoot.
How to Adjust the iPhone Camera for Different Shots
Different scenes need different choices. A dark restaurant, a child running outside, a close-up of jewelry, and a group selfie should not be treated the same way. Pick the mode that solves the main problem in front of you.
Use Night mode for dark scenes
Use Night mode when the scene is dark and your subject can stay reasonably still. On supported iPhones, it usually appears automatically and gathers more light over a short capture time.
Use Portrait mode for people
Portrait mode works best when one main subject has some distance from the background. It can make people, pets, and detail shots look cleaner by softening the background.
Use Burst mode for moving subjects
Use Burst mode when timing is the hard part. Kids jumping, pets running, sports, dancing, and candid laughter are all better handled with a short burst than with one perfectly timed tap.
Use Macro Control for close-ups
Macro Control, on supported models, helps when the iPhone switches lenses as you move close to a subject. Use it for flowers, food texture, jewelry, small labels, or objects where tiny details matter.
If the image jumps or looks different after the lens switch, step back slightly and tap to focus again. Close-up shots also need good light because your phone and hand can easily cast shadows over the subject.
Use 4K60 for fast-moving video
4K60 is best when smooth motion matters more than storage space. Use it for sports, active pets, children on bikes, quick pans, or outdoor action in good light.
For calmer scenes, interviews, travel clips, or long recordings, 4K30 is usually the better default. It keeps quality high without making files as large.
Use the timer for hands-free photos
The timer is useful for group photos, rear-camera selfies, tripod shots, and low-light scenes where touching the shutter could shake the phone. Set the phone down, frame with Grid and Level, then give everyone a moment to settle before the shot.
Conclusion
The best iPhone camera setup is the one you can use quickly without second-guessing it. Start with focus, exposure, Grid, Level, High Efficiency, 24 MP if supported, and 4K30 for everyday video; then use higher resolutions, ProRAW, ProRes, Burst, Night mode, or 4K60 only when the scene actually calls for them.