Better phone photos usually come from fixing the basics first: clean glass, steady hands, good light, clear focus, and less digital zoom. If a shot looks dull or blurry, check those things before blaming the camera or adding heavy edits.
What smartphone photography tips make the biggest difference?
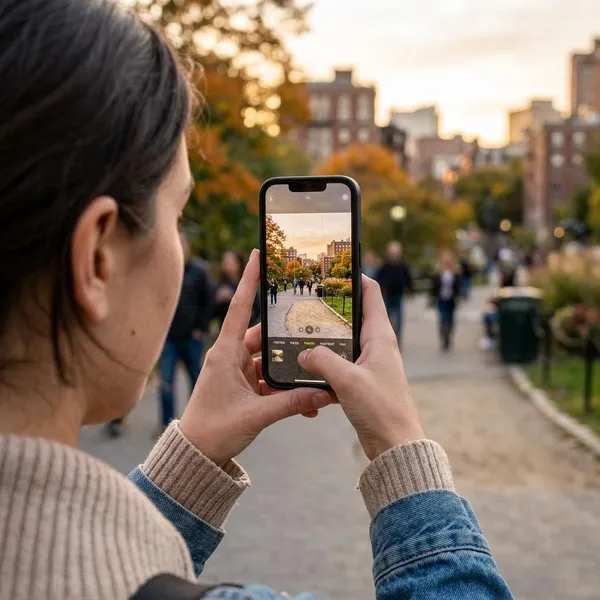
The biggest improvements come from a short routine you can use before almost any shot. Wipe the lens, look at the light, tap the subject, steady the phone, and move your feet before you zoom. That order matters because it fixes the problems that ruin photos most often.
- Check first: lens smudges, bad light, shaky hands, and a messy background.
- Change next: your angle, distance, exposure, or camera mode.
- Edit last: use editing to refine a decent photo, not rescue a careless one.
Clean the lens before shooting
A fingerprint on a phone lens can make a photo look foggy even when the camera is perfectly fine. Wipe the lens with a microfiber cloth or a clean soft shirt corner, especially before night scenes, sunsets, food photos, or anything with bright lights.
Tap to set focus
Your phone guesses what should be sharp, but it does not always guess correctly. Tap the face, object, flower, plate, or detail that matters most, particularly when the subject is off-center or the background is busy.
If your phone supports focus lock, press and hold on the subject when the scene is not moving. That helps with product photos, food shots, and portraits where you want consistent focus across several attempts.
Adjust exposure manually
After tapping to focus, use the brightness slider if your camera app shows one. Lower exposure slightly when skies, windows, white walls, or reflective tables look too bright. Raise it gently when the subject is hidden in shadow.
A small exposure change before taking the photo usually looks cleaner than trying to repair blown highlights later. If you are photographing someone near a bright window, expose for the face only if the person matters more than the view outside.
Hold your phone steady
Blur often comes from movement, not a bad camera. Hold the phone with both hands, keep your elbows close, and pause for a moment after pressing the shutter. In low light, brace the phone against a wall, railing, table, or bag.
- Use the timer when tapping the shutter shakes the phone.
- Avoid one-handed shots at night unless the scene is very bright.
- Wait for stillness when photographing pets, kids, or people walking.
Move closer instead of zooming
Digital zoom usually crops the image and makes detail weaker. Walk closer when you can, or use your phone's built-in telephoto lens if it has one. This is especially important for food, flowers, products, pets, and travel details.
If you cannot move closer, take the wider shot cleanly and crop a little later. That often gives you a better result than pinching far into digital zoom while shooting.
Use natural light when possible
Natural light is the easiest upgrade for most phone photos. Window light works well indoors, while early morning, late afternoon, and open shade are usually more flattering outdoors than harsh midday sun.
For portraits, turn the person slightly toward the light instead of putting the light directly behind them. For food or small objects, side light from a window often shows texture better than overhead room lighting.
How can you improve composition?
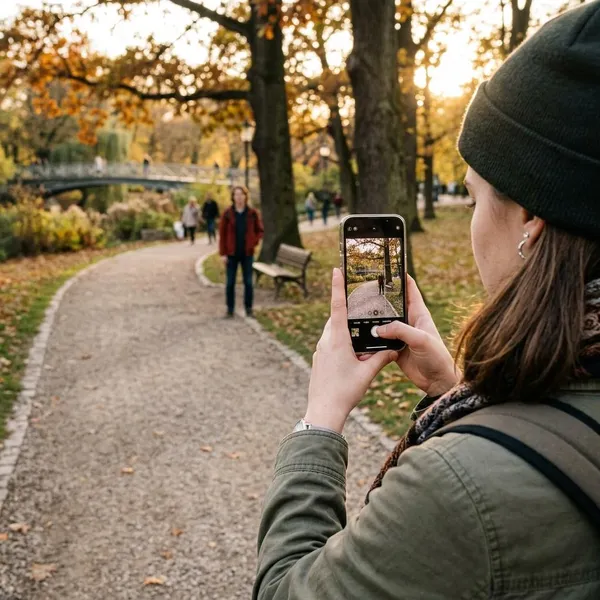
Composition is about deciding what the photo is really about and removing what weakens that idea. Before shooting, check the edges of the frame, the background behind the subject, and whether your eye naturally goes where you want it to go.
Turn on grid lines if your camera app offers them. They help with straight horizons, subject placement, and cleaner framing without making the process complicated.
Use the rule of thirds
Place the subject along one of the grid lines or near a crossing point instead of centering everything by habit. This works well for portraits, travel photos, landscapes, and street scenes where a little off-center placement makes the image feel more deliberate.
Centering can still work for symmetry, reflections, doorways, or simple product shots. Use the rule of thirds as a starting point, not a law.
Keep horizons straight
A crooked sea, skyline, or road line can make an otherwise good photo look careless. Use grid lines while shooting, then straighten again during editing if needed.
Look for leading lines
Roads, fences, bridges, stair rails, shadows, and rows of lights can guide the viewer's eye toward the subject. Position yourself so those lines lead into the frame rather than out of it.
Use negative space
Negative space is the quiet area around your subject, such as sky, wall, water, pavement, or a plain tabletop. It gives the subject room to stand out and helps busy photos feel calmer.
- Good for portraits: a person against a clean wall or open sky.
- Good for products: one item on a simple surface without clutter.
- Good for travel: a small subject in a wide landscape for scale.
Try different shooting angles
If a photo feels ordinary, change your position before changing settings. Crouch lower for pets, children, flowers, or buildings. Shoot from above for flat food, notebooks, desks, and table scenes. Move sideways when reflections, signs, or clutter are sitting behind the subject.
Which smartphone camera modes should you use?
Use the default camera mode when the light is simple and the subject is not moving much. Switch modes when the scene has a specific problem: a distracting background, very low light, extreme contrast, a wide view, or a photo you plan to edit carefully.
| Scene problem | Mode to try | Watch out for |
|---|---|---|
| Busy background behind a person or object | Portrait mode | Messy blur around hair, glasses, or edges |
| Dark street, room, or skyline | Night mode | Movement during capture |
| Bright sky with dark foreground | HDR | Moving subjects or an unnatural look |
| Very wide view | Panorama | Crooked movement or people crossing the frame |
| Careful editing later | RAW or Pro mode | Larger files and more editing work |
Portrait mode for clear subject separation
Portrait mode is useful when you want a person, pet, flower, or object to stand out from the background. Keep some distance between the subject and the background so the blur looks more natural.
Night mode for dark scenes
Night mode is best for dark scenes that are mostly still, such as buildings, city lights, interiors, and evening landscapes. Hold the phone steady until the capture finishes; moving too early can smear fine detail.
For a dim restaurant or night market, avoid zooming and do not expect sharp results from fast-moving people. A wider, steadier photo usually looks better than a shaky close-up.
HDR for difficult lighting
HDR helps when the scene has bright highlights and deep shadows at the same time. Use it for backlit portraits, bright skies, windows, and high-contrast outdoor scenes.
Skip HDR when the light is already soft and even, or when a subject is moving quickly. In those cases, the standard photo mode may look cleaner and more natural.
Panorama for wide scenes
Panorama mode works for mountain views, city skylines, large interiors, long murals, and big groups. Move slowly, keep the guide line steady, and avoid people or cars crossing through the frame.
Start a little before the main view and finish a little after it. That gives you room to crop the final image without cutting off important details.
RAW or Pro mode for more control
RAW or Pro mode is useful when you care about editing flexibility more than speed. It can help with landscapes at dusk, architecture, mixed lighting, or scenes where automatic processing makes the colors or contrast look wrong.
For casual snapshots, standard mode is usually easier. RAW files often look flat at first and need editing, so use this mode when you actually want that extra control.
How can you take better photos in common situations?
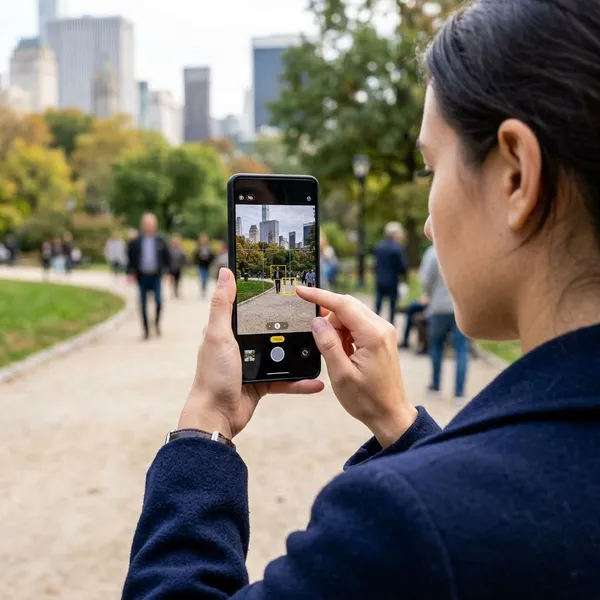
Different subjects need different priorities. For portraits, light and background matter most. For landscapes, straight lines and depth matter more. For products, clarity and accuracy are more important than dramatic style.
Use soft light for portraits
Soft light makes faces look more flattering because it reduces harsh shadows and shiny highlights. Window light, open shade, overcast weather, and golden hour are usually safer choices than direct midday sun.
If the background is distracting, move the person a few steps or change your angle. A simple wall, greenery, or distant background often looks better than a busy room, parked cars, or bright signs.
Keep horizons level for landscapes
Use the grid to keep the horizon straight, then decide what deserves more space: sky or land. If the clouds are dramatic, place the horizon lower. If the foreground has rocks, flowers, reflections, or a path, give that foreground more room.
Look for layers too. A foreground object, middle distance, and background can make a simple landscape feel deeper than a flat wide shot.
Use natural light for food photos
Place food near a window and turn off strong yellow room lights if they are changing the color. Side light usually shows texture better than flash or overhead lighting.
- Top-down: pizza, bowls, breakfast plates, flat lays.
- Lower angle: burgers, cakes, drinks, layered dishes.
- Before shooting: remove crumbs, wrappers, cables, and random table clutter.
Keep backgrounds simple for product photos
A plain wall, clean table, sheet of paper, or neutral fabric helps buyers or viewers see the product clearly. This matters more than creative filters if the photo is for selling, cataloging, or comparing items.
Hold steady for night photos
At night, stability matters more than speed. Use Night mode if available, brace the phone, and wait until the shot is finished before moving. If the subject is walking, dancing, or waving, expect blur unless you are deliberately capturing motion.
How can you edit smartphone photos naturally?
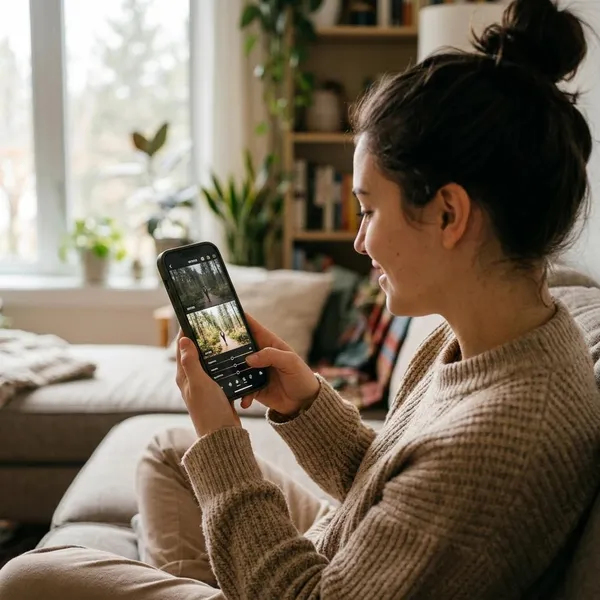
Natural editing should make the photo cleaner without making the editing obvious. Start with the crop and brightness, then make small contrast and color adjustments. Sharpening should be the final touch, not a fix for a blurry photo.
- Crop and straighten first so the frame makes sense.
- Correct brightness next before judging color.
- Add contrast lightly only if the image feels flat.
- Check color last so skin, food, skies, and products still look believable.
Crop for stronger composition
Crop to remove distractions, tighten the subject, or correct a weak frame. Be careful with heavy cropping, especially if the photo is already soft or taken in low light.
Choose the crop for where the photo will be used. A vertical crop may suit portraits and social stories, while a wider crop often works better for landscapes or travel scenes.
Correct brightness first
Fix exposure before changing color or contrast. If the subject is too dark, lift exposure or shadows gently. If the sky or window is too bright, reduce highlights rather than darkening the whole image.
Adjust contrast lightly
A little contrast can give shape to a flat image, but too much can crush shadows and make skin or food look harsh. Compare the edit with the original before saving; if the edit shouts, pull it back.
Keep colors realistic
Use saturation and warmth carefully. Slight warmth can help portraits and food, but strong color boosts often make skies, plants, and skin look fake.
For product photos, keep color as accurate as possible. A beautiful edit is not useful if the item no longer looks like itself.
Avoid excessive sharpening
Sharpening can add a little crispness, but it cannot repair a truly blurry photo. Too much creates halos, gritty skin, crunchy food texture, and noisy night shots. Zoom in briefly before saving; if edges look rough, reduce sharpening.
Conclusion
The best improvement usually comes from slowing down for a few seconds before you shoot: clean the lens, find better light, tap the subject, hold steady, and frame with intention. Once those habits are in place, camera modes and editing become useful finishing tools instead of emergency fixes, which is when phone photos start to look sharper, cleaner, and more natural.